For us, vintage computer enthusiasts, there’s a new tool which opens new possibilities about recovering, repairing and (why not?) also getting back very rare or expensive parts for our old computers!
We’re talking about 3D printers, that specific branch of CNC (computer numerical control) tools which can recreate a three-dimensional object through a hot nozzle and a special plastic wire.
Avoiding technical details, there are two main 3D printing technologies used by hobbyists: the deposition of molten filament (which is our concern), and the liquid resin with laser hardening (a little more expensive). In the industrial field there are other techniques, obviously very expensive, which allow high definition and mass production.
The functioning principles are the same: the object to be reproduced is first drawn with proper three-dimensional design softwares, then is processed through another special software called slicer which actually “cuts” the object in thin slices and generate the control codes to drive the motors of the 3D printer. The more the object is big and complex, the greater is the number of layers and moves required to reproduce the 3D model, therefore the time to complete the printing will be longer.
So, in our hobbyist field, the willingness of someone of us in designing parts, accessories or small pieces for our computers in a suitable 3D format for these printers, and the sharing of these drawings in the internet community (there’s Thingiverse, a special website where you can find almost everything!) permits us to remake broken parts e.g. buttons, covers, even little peripheral devices which will give us the satisfaction of fixing our loved “vintage computers”!
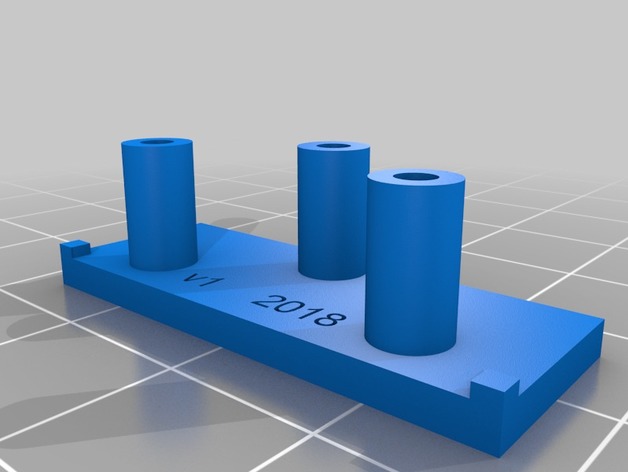
Fortunately, in the little but strong QL community (the fans of the Sinclair QL, if someone doesn’t know it yet…) we have Michele Perini, who has reconstructed some parts for our loved machine and provided those special files to be put in the “slicer” in order to feed a 3D printer and get back the lost parts. I myself could actually test the quality of such designs, for example remaking the QL riser feet which are difficult to find at cheap prices in any website, but at the cost of about 40 minutes and 0.5 Euros I recreated and utilized them immediately.
To conclude, today the available 3D printers with deposition of molten filament technology are very affordable for hobbyists and sporadic use (starting from 100 euros) and, at the minimum cost of some tests and find the right parameters (fortunately here the huge Internet world is very helpful), we can get excellent results almost immediately.
Here are the links to the models to be printed for the QL:
Sinclair QL Expansion Bus port cover https://www.thingiverse.com/
Sinclair Microdrive Cartridge Cover https://www.thingiverse.com/
Sinclair QL Power button https://www.thingiverse.com/
Sinclair QL Microdrive Expansion Bus port cover https://www.thingiverse.com/
Sinclair QL Feet https://www.thingiverse.com/
Sinclair QL ROM port cover https://www.thingiverse.com/


Some minor amendments:
– The QL doesn’t have a “power button” – This seems to be the reset knob
– very interesting for vDrive owners: An external mdv case in QL design: https://www.thingiverse.com/thing:2853469